
Baked Oreo Cheesecake
Quick Overview
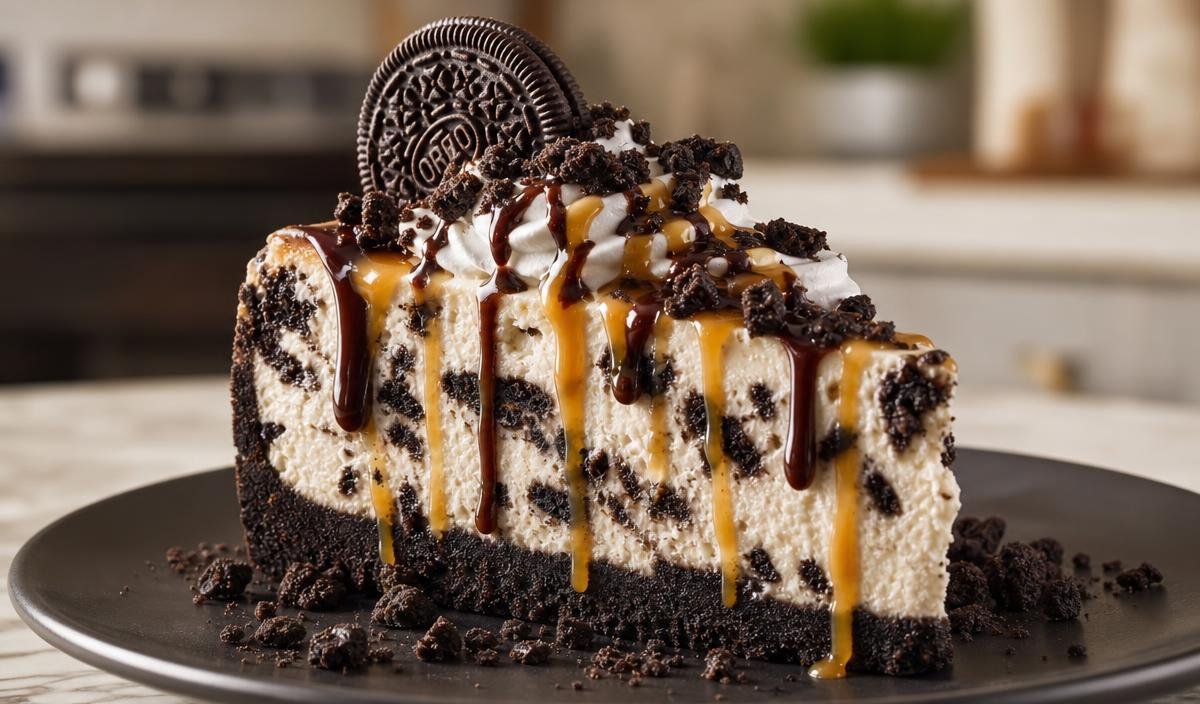
This baked Oreo cheesecake features a crisp cookie crust, a velvety cream cheese filling studded with crushed cookies, and a smooth chocolate ganache topping. It delivers the rich chocolate and vanilla flavor of classic cookies wrapped in a silky dessert texture.
Baking a cheesecake from scratch is simpler than it appears. The filling comes together quickly with basic pantry staples, while the oven does most of the work to set the center perfectly.
- Prep time: 20 minutes
- Cook time: 55 minutes
- Total time: 4 hours 15 minutes (includes cooling time)
- Servings: 8 to 10 slices
- Calories: 540 kcal per serving
Ingredients
For the Crust
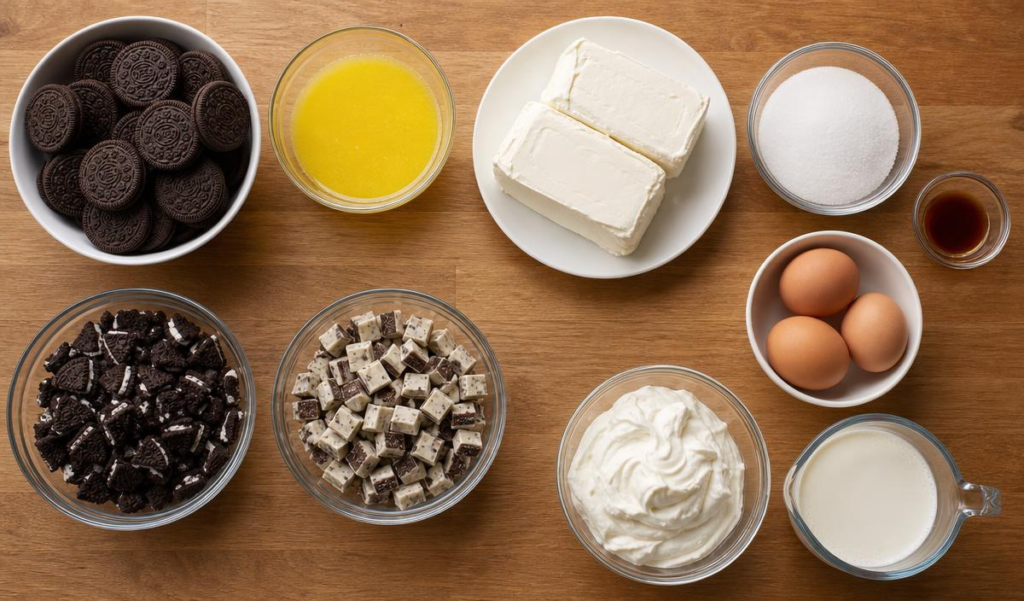
- 24 whole Oreo cookies
- 60 g (4 tbsp) unsalted butter, melted
For the Cheesecake Filling
- 680 g (24 oz) cream cheese, softened to room temperature
- 150 g (3/4 cup) granulated sugar
- 1 tsp vanilla extract
- 3 large eggs, room temperature
- 10 whole Oreo cookies, coarsely chopped
For the Ganache & Topping
- 150 g (1 cup) cookies and cream or milk chocolate bars, chopped
- 60 ml (1/4 cup) heavy cream
- Whipped cream for serving
How to Make Oreo Cheesecake
- Preheat your oven to 160°C (325°F) and grease a 20 cm (8-inch) springform pan.
- Pulse 24 Oreo cookies with melted butter in a food processor until fine crumbs form.
- Press the cookie mixture evenly into the bottom of the prepared springform pan to form a firm crust.
- Beat the softened cream cheese and granulated sugar in a large bowl with an electric mixer on medium speed for 2 minutes until completely smooth.
- Whisk in the vanilla extract and add the eggs one at a time, mixing gently after each addition just until blended.
- Fold the 10 coarsely chopped Oreo cookies into the cheesecake batter with a spatula.
- Pour the batter evenly over the crushed cookie crust in the springform pan and smooth the top.
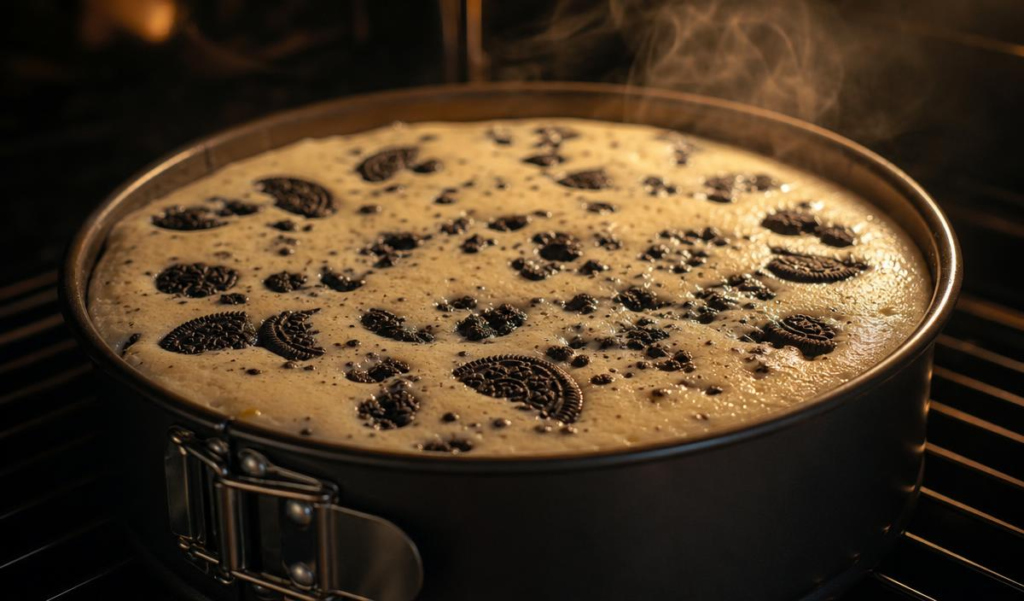
- Scatter a few extra cookie pieces on top, then bake at 160°C (325°F) for 50 to 55 minutes until the edges are set and the center slightly wobbles.
- Turn off the oven, crack the door open, and let the cheesecake cool inside for 1 hour before moving it to a wire rack.
- Combine the chopped chocolate bars and heavy cream in a microwave-safe bowl, heating in 20-second intervals until melted and smooth.
- Pour the warm chocolate ganache over the cooled cheesecake, spread evenly, and chill in the refrigerator for at least 3 hours.
- Slice with a warm knife and garnish with whipped cream before serving.
Pro Tip
Overbeating the eggs incorporates excess air into the batter, which causes the cheesecake to puff up in the oven and crack as it cools. Always mix the eggs on low speed or by hand, stopping as soon as the yolks disappear into the cream cheese mixture.
Serving & Storage
Serve each slice chilled with a fresh dollop of whipped cream and extra chocolate sauce drizzled over top. Pair it with hot coffee or a glass of cold milk to balance the rich chocolate flavor.
Store leftover cheesecake covered tightly in the springform pan or an airtight container in the refrigerator. It stays fresh and holds its creamy texture for up to 5 days.
For long-term storage, freeze individual slices wrapped in plastic wrap and aluminum foil for up to 2 months. Thaw overnight in the refrigerator before serving.
FAQs
Can I make this cheesecake ahead of time?
Yes, you can bake it up to 2 days in advance and keep it chilled in the refrigerator until ready to serve.
How do I stop the cheesecake from cracking?
Avoid overmixing the eggs and let the cake cool slowly inside the turned-off oven with the door propped open.
Can I use low-fat cream cheese for this recipe?
Full-fat brick cream cheese works best because lower fat options contain extra moisture that prevents the center from setting properly.