
Quick Overview
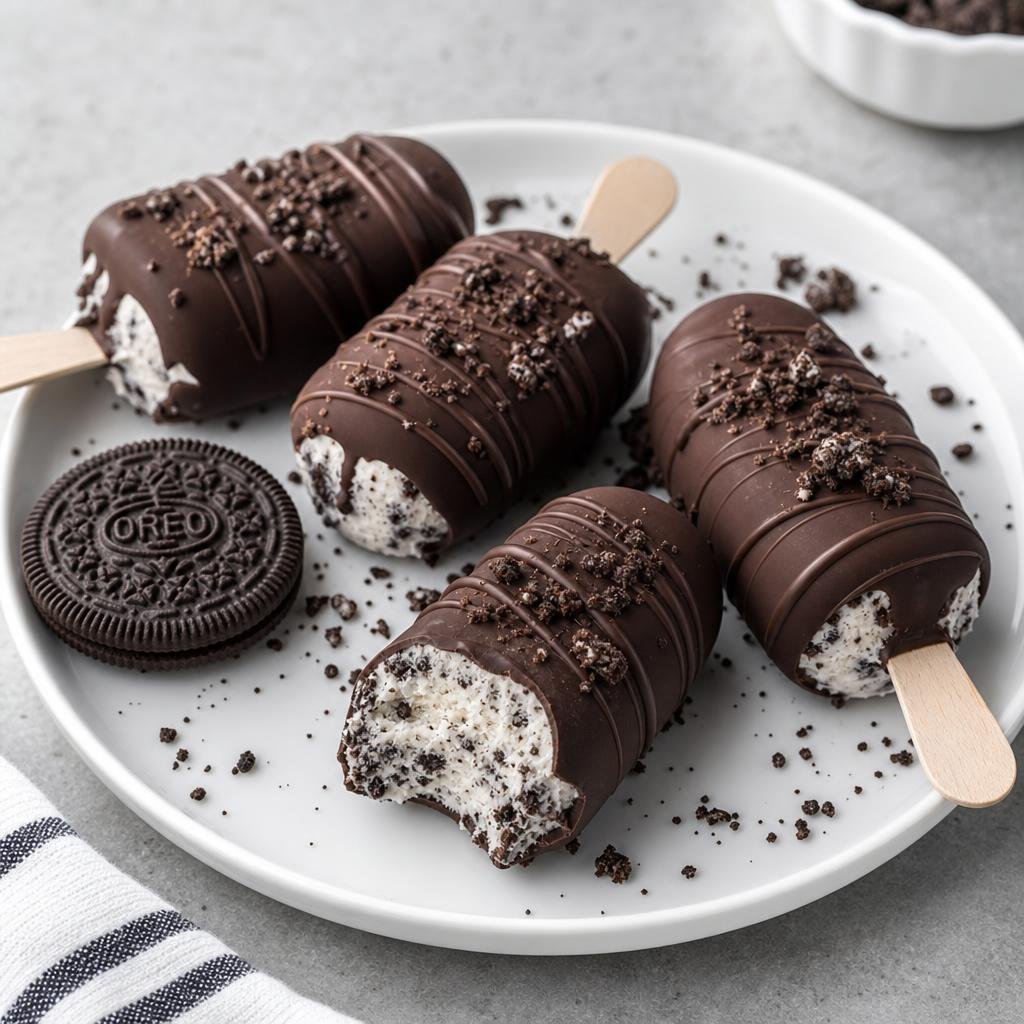
These homemade Oreo ice cream bars deliver a creamy cookie center wrapped in a crunchy chocolate peanut shell. Making ice cream at home usually requires specialized equipment, but this clever method uses the cookie wrapper itself as a mold. It creates a fun dessert without any hassle.
Crushed Oreo cookies combine directly in their original packaging with cold milk before freezing into solid popsicles. Once set, a quick dip in melted chocolate chips mixed with vegetable oil and chopped peanuts provides a crisp coating that hardens almost instantly against the frozen center.
Prep time takes 10 minutes, cook time takes 5 minutes for melting chocolate, and freezing requires 4 hours. Total time is 4 hours and 15 minutes. This recipe yields 2 ice cream bars at approximately 380 calories per serving.
Ingredients
For the Ice Cream Base
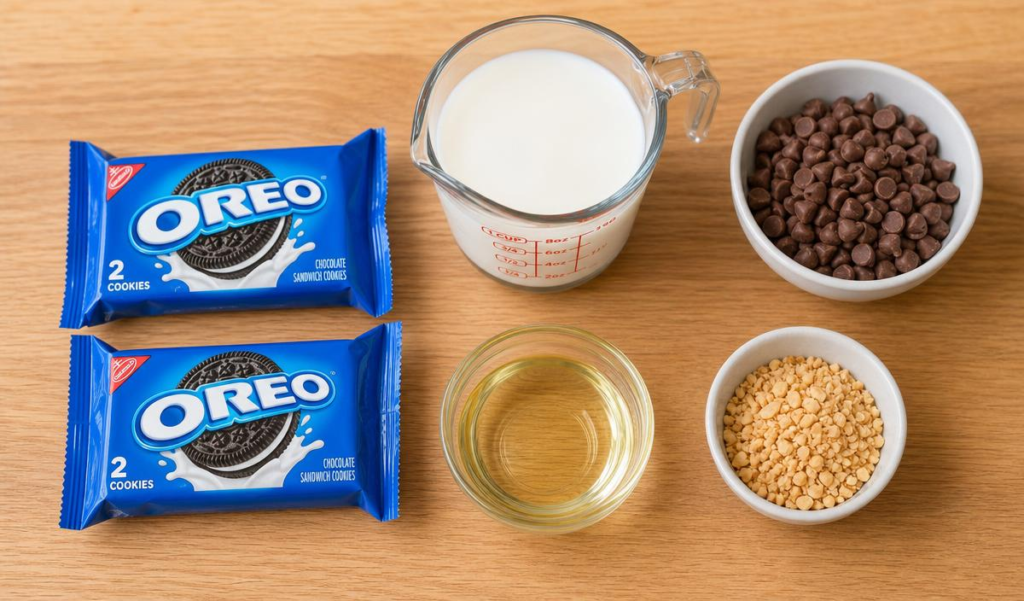
- 2 single-serve Oreo packages (6 cookies per pack, 114 g total)
- 1/2 cup (120 ml) whole milk
For the Chocolate Coating
- 1 cup (175 g) milk chocolate chips
- 1 tbsp (15 ml) vegetable oil
- 1/4 cup (35 g) crushed peanuts
How to Make Easy Homemade Oreo Ice Cream Bars
- Gently crush unopened Oreo packages using a rolling pin until cookies break into bite-sized chunks.
- Cut open the top end of each packet carefully to keep the wrapper intact.
- Pour 1/4 cup (60 ml) of cold milk into each crushed Oreo wrapper.
- Stir gently with a small fork to submerge all cookie pieces into the milk.
- Insert one wooden popsicle stick into the center of each packet.
- Stand wrappers upright inside a tall glass to hold them steady.
- Place the glass in the freezer for at least 4 hours until completely solid.
- Set a glass bowl over a pot of simmering water on medium heat to create a double boiler.
- Add chocolate chips and vegetable oil to the bowl, stirring continuously until smooth.
- Remove melted chocolate from heat and pour it into a tall, narrow glass.
- Stir crushed peanuts directly into the warm chocolate mix.
- Tear away the wrapper from each frozen Oreo bar.
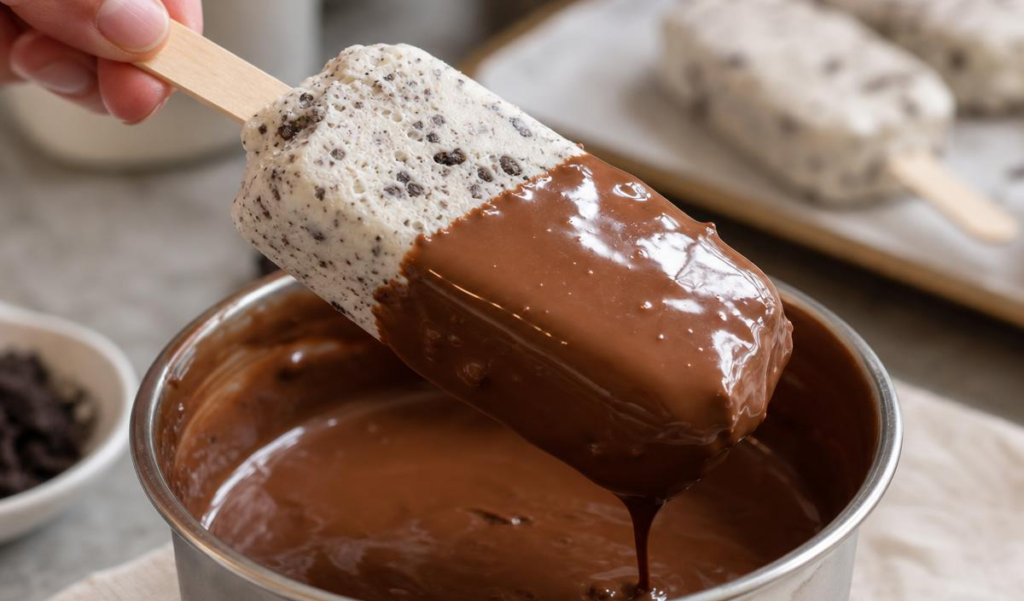
- Dip each frozen bar completely into the chocolate coating, holding for 10 seconds to allow the shell to harden.
Pro Tip
Avoid over-crushing your cookies into fine dust before adding milk. Leaving chunky cookie pieces creates the ideal balance between soft cream and solid cookie bits. Fine cookie crumbs absorb milk too quickly and result in an overly dense texture rather than a creamy ice cream core.
Serving & Storage
Serve these ice cream bars immediately after dipping. The warm chocolate shell sets within seconds when contacting the frozen bar, creating a crisp contrast against the soft Oreo center. These bars work wonderfully on their own or served alongside fresh berries to balance the richness.
Store extra bars wrapped individually in parchment paper and placed inside an airtight container in the freezer. They remain fresh for up to 2 weeks without losing quality. Avoid storing them unwrapped, as ice crystals can form on the chocolate shell and compromise the crunch.
Do not attempt to thaw or microwave these bars before eating. Reheating melts the inner cream core immediately and ruins the crisp outer shell. Eat directly from the freezer.
FAQs
How long do these take to freeze completely?
They require at least 4 hours in a standard freezer, though leaving them overnight produces the best structure.
Can I use heavy cream instead of whole milk?
Yes, substituting heavy cream yields a richer texture, but whole milk works best for proper cookie absorption.
Why is vegetable oil added to the chocolate?
Vegetable oil thins the melted chocolate, creating a smooth, dip-friendly consistency that hardens into a thin coating.