
Quick Overview
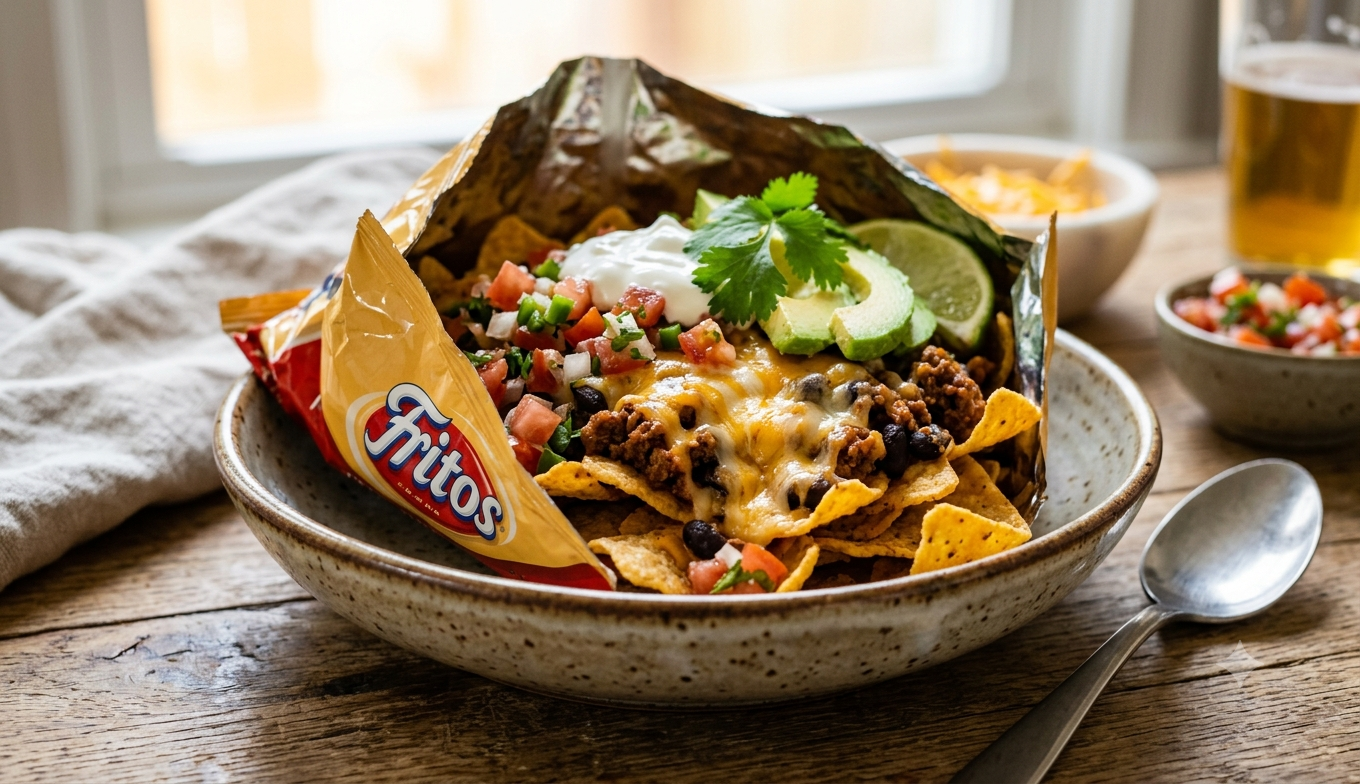
A loaded chip bag, often called a walking taco, is a fun and customizable snack served right inside an individual bag of tortilla chips. It layers warm, seasoned ground beef with melted cheese, fresh vegetables, and cool sour cream. It is popular at game days, block parties, and quick weeknight dinners because cleanup is virtually nonexistent.
This recipe takes minimal effort to assemble and comes together in minutes once your meat is seasoned. It gives you all the bold flavors of classic taco night with maximum portability.
- Prep time: 10 minutes
- Cook time: 10 minutes
- Total time: 20 minutes
- Servings: 4 individual bags
- Calories: 520 kcal per serving
Ingredients
For the Meat Base
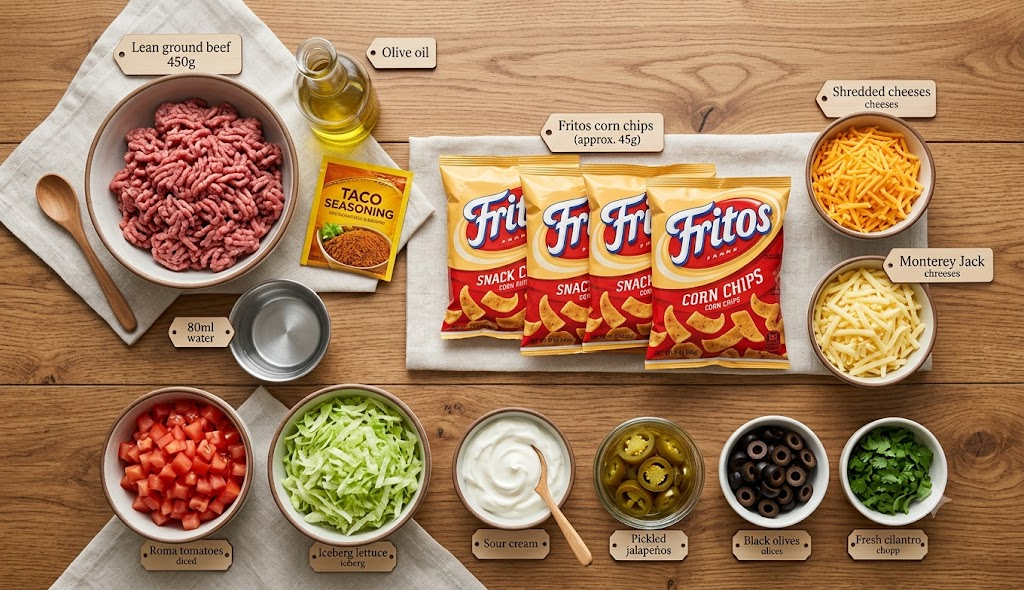
- 450 g lean ground beef (85/15 ratio)
- 1 tbsp olive oil
- 1 packet (30 g) taco seasoning
- 80 ml water
For the Assembly
- 4 individual snack-size bags (approx. 45 g each) tortilla chips or corn chips
- 100 g cheddar cheese, finely shredded
- 100 g Monterey Jack cheese, finely shredded
For the Toppings
- 100 g Roma tomatoes, diced
- 60 g shredded iceberg lettuce
- 60 g sour cream
- 40 g sliced pickled jalapeños
- 30 g sliced black olives
- 2 tbsp fresh cilantro, chopped
How to Make Loaded Chip Bags
- Heat the olive oil in a skillet over medium-high heat.
- Add the ground beef and cook for 6 minutes, breaking it into small crumbles with a wooden spoon until no pink remains.
- Drain any excess grease from the skillet, leaving just enough to keep the meat moist.
- Stir in the taco seasoning and water, bring to a simmer, and cook for 2 minutes until the sauce thickens and coats the meat.
- Take a snack-size chip bag and gently crush the chips inside using your hands before opening.
- Cut the top of the bag open horizontally with scissors, or slice along the side seam for a wider opening.
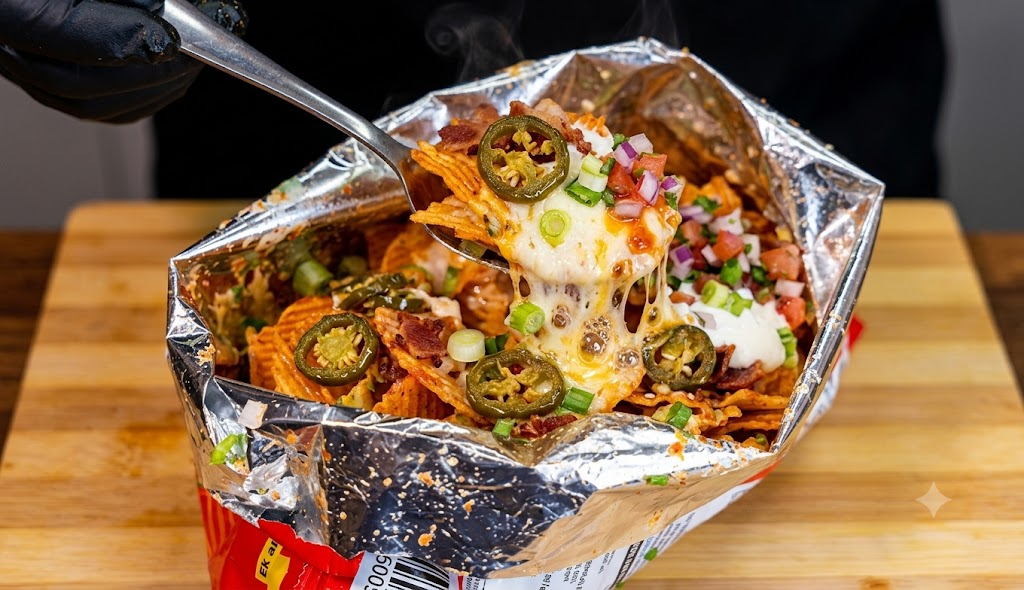
- Spoon roughly 100 grams of the hot seasoned beef directly over the crushed chips inside the bag.
- Sprinkle the shredded cheddar and Monterey Jack cheeses immediately over the warm beef so it melts naturally.
- Top with shredded lettuce, diced tomatoes, sour cream, jalapeños, black olives, and fresh cilantro.
- Serve immediately with a fork directly out of the bag.
Pro Tip
Avoid pouring hot meat over un-crushed chips at the very bottom without creating layers. If you dump all the warm meat right on top without gently crushing the chips first, the bottom layer turns soggy while the top stays dry. Crushing the chips slightly creates even crevices, allowing the meat juice and melted cheese to distribute evenly through every bite.
Serving & Storage
Serve these loaded chip bags immediately while the beef is hot and the chips are crunchy. They pair wonderfully with side dishes like Mexican rice, refried beans, or fresh guacamole and salsa on the side.
Because this dish is built inside a chip bag, it does not store well once assembled. The chips will absorb moisture from the meat and toppings, becoming soggy within an hour.
To prepare ahead of time, store the cooked taco beef in an airtight container in the refrigerator for up to 4 days. You can also freeze the seasoned cooked beef for up to 3 months. Reheat the meat in a skillet over medium heat with a splash of water, or in the microwave for 1 to 2 minutes, then assemble fresh bags just before eating.
FAQs
Can I use a different type of meat for this recipe?
Yes, ground turkey, ground chicken, or plant-based crumbles work equally well when seasoned with the same taco spice blend.
What kind of chip bags work best?
Standard single-serve corn chips or nacho cheese tortilla chips provide the best structural base and crunch for heavy toppings.
How do I keep the bag from tipping over while eating?
Gently roll down the top edge of the bag outward by half an inch to create a sturdy rim that keeps the bag standing upright.