
Quick Overview
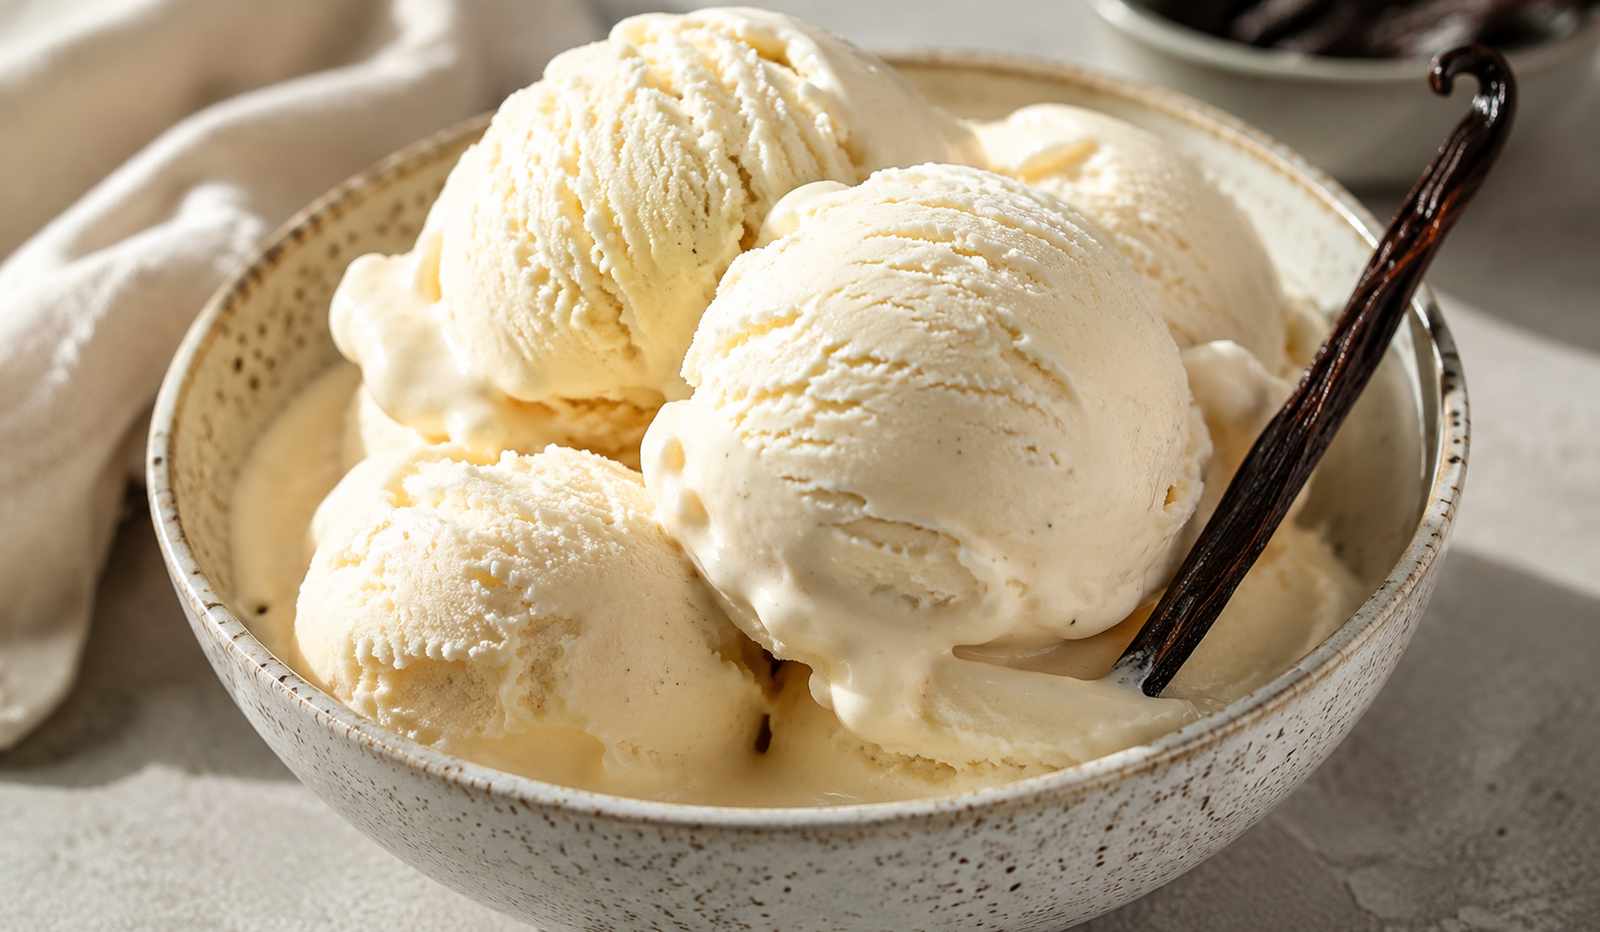
Making rich, velvety vanilla ice cream at home does not require an expensive ice cream maker or complicated custard bases. This simple no-churn recipe uses basic kitchen staples to create a dense, scoopable dessert with a silky mouthfeel and zero ice crystals.
By combining a cooked milk-and-flour base with whipped heavy cream and sweetened condensed milk, you achieve professional-grade texture without continuous churning. It is a reliable base recipe that you can easily customize with your favorite mix-ins or enjoy on its own.
Prep time: 15 minutes Cook time: 5 minutes Freezing time: 6 hours Total time: 6 hours 20 minutes Servings: 8 Estimated calories per serving: 290 kcal
Ingredients
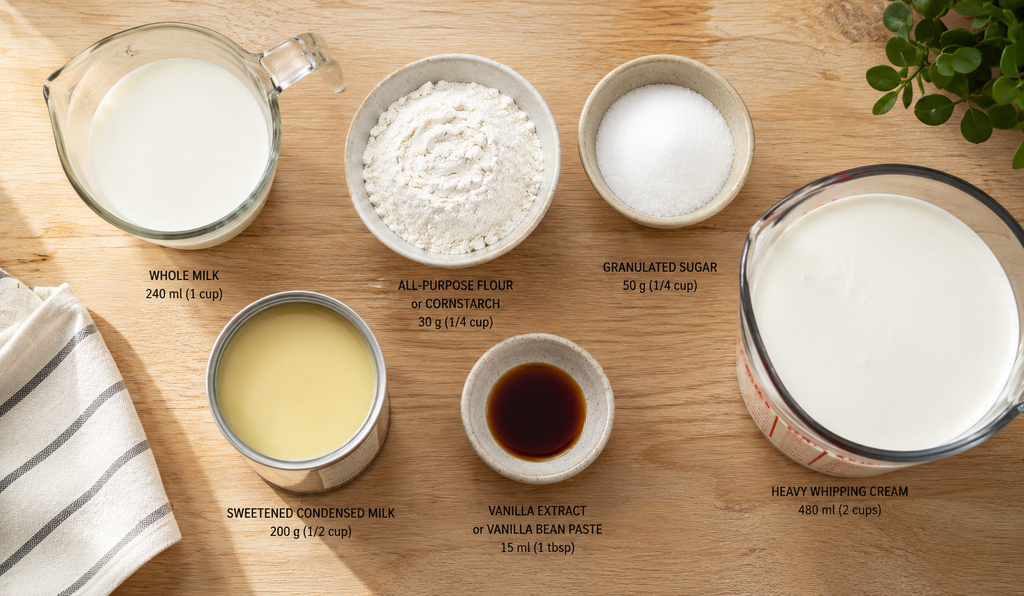
Cooked Milk Base
- 240 ml (1 cup) whole milk
- 30 g (1/4 cup) all-purpose flour or cornstarch
- 50 g (1/4 cup) granulated sugar
Cream Base
- 480 ml (2 cups) heavy whipping cream, chilled
- 200 g (1/2 cup) sweetened condensed milk
- 15 ml (1 tbsp) pure vanilla extract or vanilla bean paste
How to Make Homemade Creamy Vanilla Ice Cream
- Whisk the whole milk, flour, and granulated sugar together in a small saucepan over medium-low heat until completely smooth.
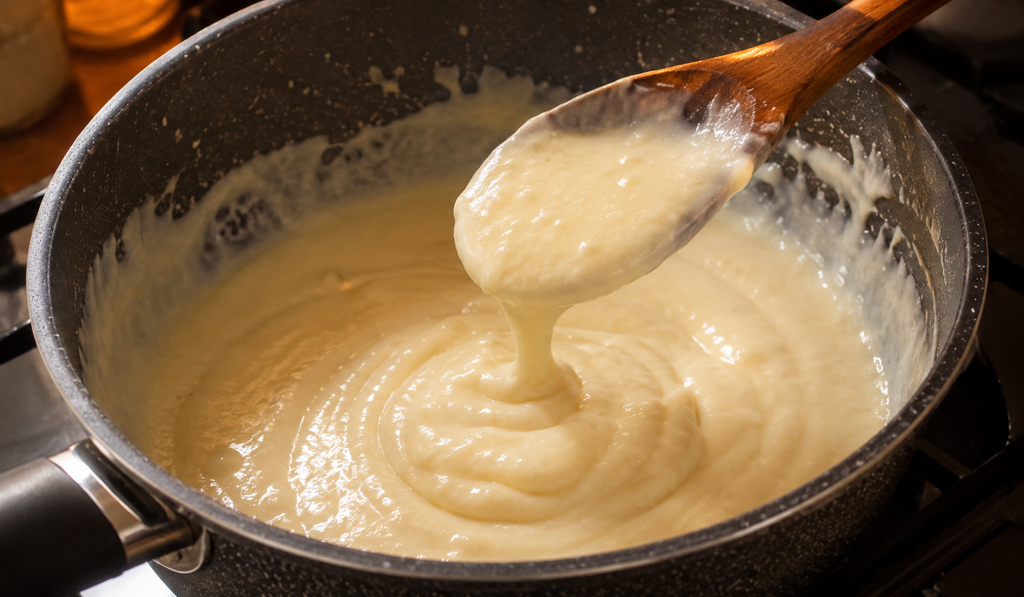
- Cook the mixture for 3 to 5 minutes, stirring constantly, until it thickens into a pudding-like consistency.
- Remove the saucepan from heat and allow the thickened milk mixture to cool completely to room temperature.
- Pour the chilled heavy whipping cream into a large glass bowl.
- Whip the heavy cream using a hand mixer on medium-high speed for 3 to 4 minutes until soft, silky peaks form.
- Pour the sweetened condensed milk, vanilla extract, and cooled milk mixture into the whipped cream.
- Gently fold the ingredients together with a silicone spatula until fully combined and smooth.
- Transfer the ice cream mixture into a metal loaf pan or an airtight container, spreading the top flat with your spatula.
- Cover the container tightly with aluminum foil or a lid and freeze for at least 6 hours until firm.
Pro Tip
Adding warm milk mixture to your whipped cream will melt the whip, causing your ice cream to turn dense and icy instead of light and scoopable. Always make sure your cooked milk and flour base cools down completely to room temperature before folding it into the chilled whipped cream.
Serving & Storage
Serve generous scoops over warm waffles, crisp red velvet waffles, or brownies. Top with warm chocolate fudge syrup, white chocolate chips, fresh berries, or crushed nuts for added texture. For easy scooping, run your ice cream scoop under warm water for a few seconds before dipping into the container.
Store the ice cream in an airtight container or a loaf pan wrapped tightly with aluminum foil to prevent freezer burn. Keep it stored in the coldest part of your freezer, away from the door.
This homemade vanilla ice cream will stay fresh in the refrigerator freezer for up to two weeks. Freezing beyond two weeks may cause ice crystals to form on top, though the flavor remains delicious.
FAQs
Can I substitute the heavy whipping cream with half-and-half? No, heavy whipping cream is essential because its high fat content creates the light structure and creamy texture needed for a no-churn recipe.
How long does it take for the ice cream to set completely? It takes roughly 6 hours to set, but letting it freeze overnight yields the best texture for firm, scoopable balls.
Can I add chocolate chips or fruit chunks to this recipe? Yes, gently fold up to one cup of crushed cookies, chocolate chips, or fruit purees into the mixture right before transferring it to the freezer container.